5 Expert Tips to Clean and Maintain Your Oven-Microwave Combo Like New
The oven-microwave combo is one of the most convenient kitchen appliances in modern homes—but it’s also one of the most neglected when it comes to regular cleaning. Because it combines two high-use appliances in one, it tends to accumulate grease, food splatters, and odors more quickly. If you want to extend the life of your unit and keep it looking like new, regular cleaning is a must. Here are five professional tips to deep clean and maintain your appliance, while protecting that beautiful stainless steel finish.
1. Start with a Steam Clean for Easy Debris Removal
Before you reach for harsh chemicals or heavy-duty scrubbers, try a steam-cleaning method first. Simply fill a microwave-safe bowl with water and add a few tablespoons of white vinegar. Microwave it on high for 5–10 minutes, allowing the steam to loosen grime and baked-on residue inside both the microwave and the oven compartments. Let it sit for a few minutes with the door closed to trap the steam. Then, wipe down all interior surfaces with a microfiber cloth. This method softens tough messes and makes the next cleaning steps much easier—plus, it helps neutralize odors naturally.
2. Use a Baking Soda Paste for Deep Oven Cleaning
When your oven is covered in grease, burnt-on food, or sticky residue, baking soda is your best friend. Mix half a cup of baking soda with a few tablespoons of water until it forms a thick paste. Apply it generously to the interior walls, racks, and bottom of the oven (avoid heating elements). Let it sit overnight for best results. The next day, wipe it down using a damp cloth, and spray a little vinegar over any remaining paste to help remove it completely. This natural cleaner is powerful, affordable, and safe to use regularly without damaging the appliance.
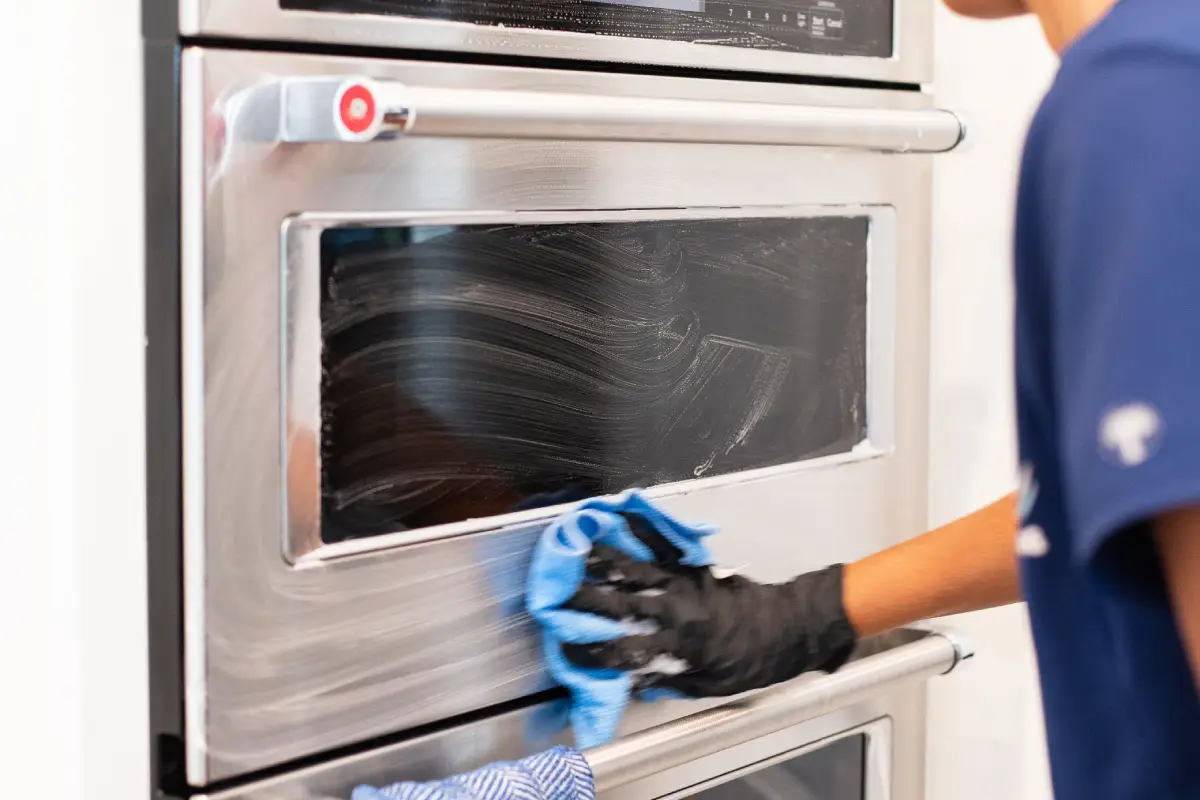
3. Pay Special Attention to the Door and Crevices
The door of your oven-microwave combo can be a trap for crumbs, grease, and even mold if not cleaned properly. Use a toothbrush or small detailing brush to scrub around the edges, corners, and rubber gaskets. You’d be surprised how much debris can hide in these tight spaces! For the glass part of the door, apply a mixture of lemon juice and baking soda to remove smudges and streaks without using harsh abrasives. Dry it with a lint-free cloth for a streak-free shine. Don’t forget to clean the hinges and under the door—these often-overlooked areas can affect how well the door seals.
4. Don’t Neglect the Vents and Fan Areas
Your combo unit has ventilation and fan systems that can accumulate dust, grease, and particles over time, especially if you cook often. Cleaning these parts helps maintain airflow, improve cooking performance, and reduce fire risks. Use a handheld vacuum or a can of compressed air to remove loose debris around the vents. Then, wipe the surface using a degreasing solution or a mix of dish soap and warm water. If the filters are removable, soak them in hot soapy water for at least 15 minutes, rinse, and dry thoroughly before reinstalling. Regular attention to these components keeps your unit running efficiently.
5. Polish the Stainless Steel for a Like-New Look
To finish off your cleaning session, make sure the outside of your appliance looks just as good as the inside. Always clean stainless steel in the direction of the grain to avoid scratches. Start with a damp microfiber cloth to remove fingerprints and smudges. Then apply a stainless-steel cleaner or a homemade solution made with vinegar and a drop of dish soap. Buff the surface dry with a clean microfiber towel. For a professional shine, apply a tiny bit of olive oil or baby oil and polish it in circular motions. This not only makes the surface gleam—it helps repel future fingerprints and grime.
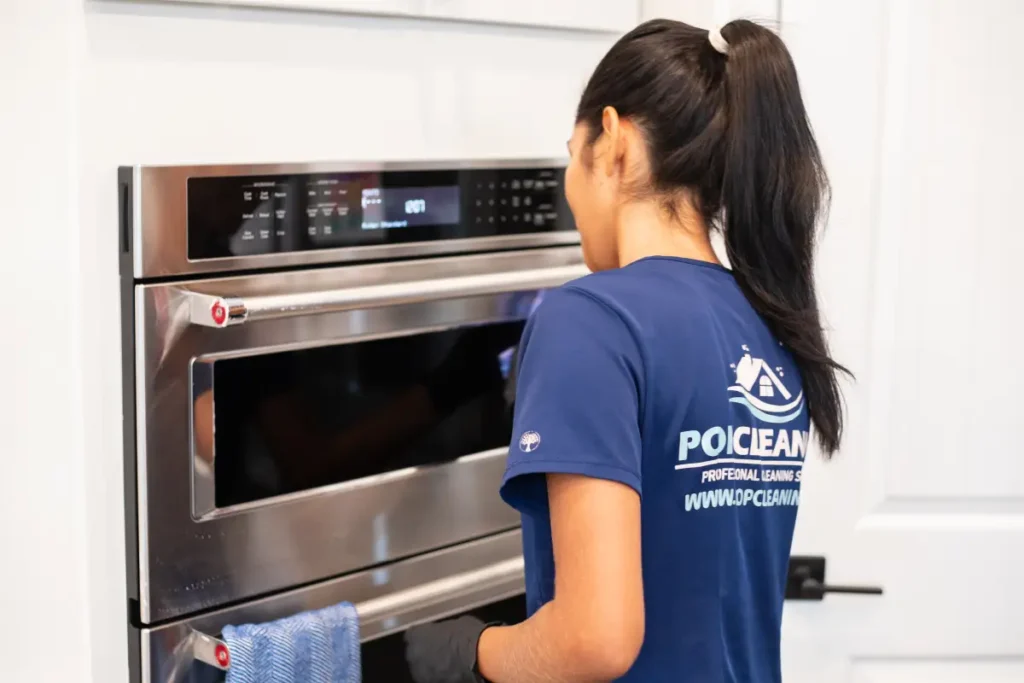
Final Tip: Want your oven-microwave combo to sparkle without the hassle? Let POP Cleaning handle it for you! Book your professional cleaning today and enjoy a spotless kitchen without lifting a finger.